Last Updated: November 5, 2026
Quick Summary
Detector sensitivity problems usually come from dust or debris in the sensing chamber, cooking smoke and steam, or aerosols and renovation dust reaching the unit. Cleaning the outside rarely fixes it, so the detector may need to be tested and replaced. Detectors near kitchens or bathrooms often nuisance alarm, and moving them can help.
- Dust settling inside the sensing chamber is the most frequent cause of sensitivity drift.
- Clean the vents with a soft, dry brush and wipe the outside with a dry cloth.
- Never spray cleaner or water directly into a smoke alarm.
- Replace a detector that fails a sensitivity test even after cleaning.
- Detectors within a few metres of kitchens or bathrooms nuisance alarm more often.
Table of Contents
- Why Fire Alarm Detector Sensitivity Matters
- What Causes Smoke Alarm False Alarms
- How to Clean a Smoke Detector Safely
- Smoke Detector Sensitivity Testing Step by Step
- Photoelectric, Ionisation and Multi-Criteria Detectors Compared
- A Decision Tree for Sensitivity Versus Other Faults
- When to Replace a Smoke Detector Instead
- Booking a Professional Detector Check With Fyrepower
- Frequently Asked Questions
Why Fire Alarm Detector Sensitivity Matters
Fire alarm detector sensitivity is how readily a smoke detector responds to smoke particles.
An alarm that is installed but not maintained is a risk, not protection. That gap between having an alarm and having a working one is why sensitivity matters.
This guide explains what causes sensitivity problems, how to test and clean detectors safely, and when to replace them instead.
What Causes Smoke Alarm False Alarms
A false alarm happens when a detector responds to something that is not a fire. Nuisance alarms are the most common complaint and often point to a sensitivity problem or a nearby trigger.
- Dust and debris building up inside the sensing chamber
- Cooking smoke, steam and humidity drifting toward the detector
- Aerosols, cleaning products and renovation dust in the air
Dust, Dirt and Debris in the Sensing Chamber
Dust is the most frequent cause of sensitivity drift. Particles settle inside the sensing chamber and change how the detector reads the air, making the alarm more sensitive or, in some cases, less responsive. Cleaning the outside often does not reach the chamber, which is why the problem keeps coming back.
Cooking Smoke, Steam and Humidity
Frying, grilling, toasting and showers release smoke and steam that sensors can read as smoke. Detectors within a few metres of kitchens or bathrooms nuisance alarm far more often; moving the unit or improving ventilation usually solves it.
Aerosols, Cleaning Products and Renovation Dust
Spray cleaners, aerosol paints and renovation dust all put fine particles into the air. A detector near a renovation site can alarm for days after the work seems finished, because dust keeps circulating. Cover detectors during building work and clean them once the job is done.
How to Clean a Smoke Detector Safely
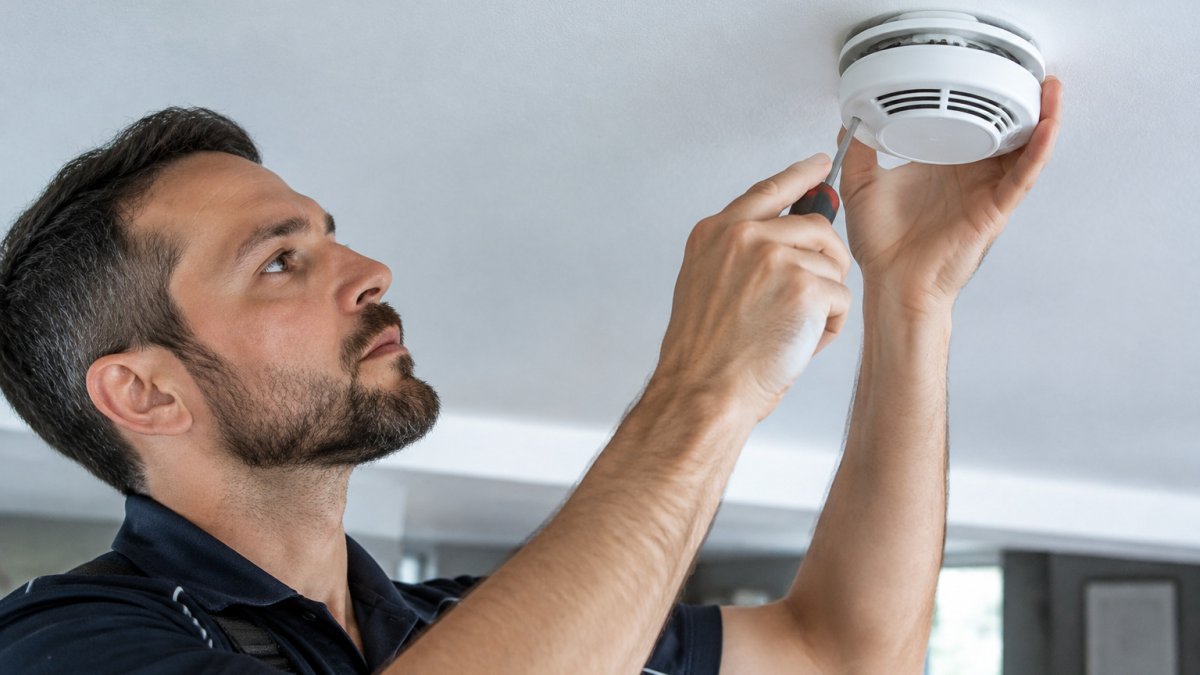
Cleaning a detector is simple, but it must be done with the power off and the unit handled gently. Follow these steps:
- Switch off the power or remove the battery, depending on the unit type.
- Use a soft, dry brush or a vacuum with a brush attachment to remove dust from the vents.
- Wipe the outside with a dry, lint-free cloth. Do not use liquid cleaners.
- Do not open the sensing chamber unless the manufacturer’s instructions say you can.
- Reconnect the power or battery and test the unit.
Watch out: Never spray cleaner or water directly into a smoke alarm. Liquids can damage the sensor and create a fault that is hard to spot later.
Smoke Detector Sensitivity Testing Step by Step
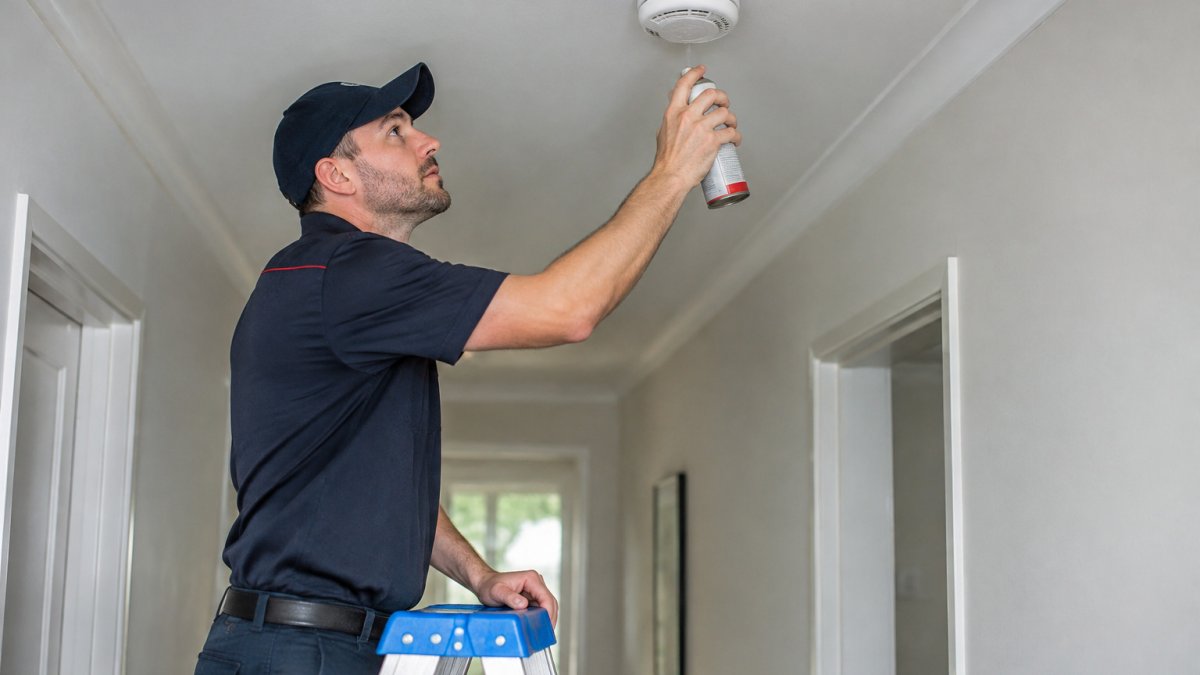
A sensitivity test does more than confirm an alarm makes noise. It checks whether the detector responds to smoke within its designed range, not so late it misses a real fire, not so early it trips on everyday dust. Pressing the test button only proves the sounder and battery work; a true sensitivity check measures the sensing chamber itself. For the required frequency and procedures for exit and emergency lighting, see the exit light testing requirements.
What the test actually measures
Detectors are manufactured to respond within a designed sensitivity band. Contamination, component ageing and chamber damage push a unit outside that band: too slow and the alarm may not activate early enough in a real fire, too fast and it nuisance alarms. The test compares current response against design intent, so the result must be recorded, not just observed.
Equipment and preparation
- An approved test aerosol or a dedicated detector test instrument designed for the detector type. Do not use smoke from a match, incense or a cigarette, these leave residue in the chamber and can worsen the problem you are trying to diagnose.
- A access pole or safe ladder so the tester never stretches or stands on furniture.
- The site’s detector schedule or as-built drawings, so each device can be identified by location and address.
Step by step
- Identify the device from the schedule and confirm its type, photoelectric, ionisation or multi-criteria, because the test method and expected response differ.
- Confirm the detector is clean and free of obvious contamination before testing. Testing a dirty unit only tells you it is dirty.
- Apply the approved test aerosol or instrument to the sensing vents from the distance and duration specified by the manufacturer or test equipment supplier.
- Time the response. The alarm should activate within the expected window for that detector type and sensitivity setting.
- Record the date, device location, device type, test method, response time or pass/fail result, and the tester’s name. Learn why fire alarm logbook records matter for compliance.
- If the response is slow, marginal or absent, clean the unit and retest before condemning it. If it still fails, treat it as a replacement candidate.
- Restore the panel from test mode and confirm with the monitoring provider that the system is back online.
Watch out: Never adjust a detector’s sensitivity setting in the field unless you are qualified and authorised to do so. Sensitivity is a life-safety parameter, and an unauthorised adjustment can leave the device non-compliant and void manufacturer warranties.
Interpreting the result
A pass means the detector responded within its expected range and can return to service. A marginal result, slow but still activating, usually points to contamination or early component ageing; clean, retest and shorten the next inspection interval. A fail after cleaning means the chamber or electronics are no longer reliable and the unit should be replaced with a compatible device.
Documentation and compliance
This level of testing is best carried out by a licensed technician, particularly where detectors are part of an interconnected or monitored system. The steps above are for understanding what a proper test involves, not a substitute for qualified inspection.
The steps below summarise the sensitivity test process described above, so you can check each stage at a glance.
| Step | What to do | Timing or note |
|---|---|---|
| 1. Identify device | Confirm location and detector type from schedule | Before testing |
| 2. Check cleanliness | Confirm unit is free of obvious contamination | Before testing |
| 3. Apply test | Use approved test aerosol or instrument at specified distance | Per manufacturer spec |
| 4. Time response | Alarm should activate within expected window | Expected window for detector type |
| 5. Record result | Log date, location, type, method, result and tester | Every test |
| 6. Retest or replace | Clean and retest marginal units; replace if still failing | Retest after cleaning |
| 7. Restore panel | Exit test mode and confirm monitoring is back online | After every test |
Photoelectric, Ionisation and Multi-Criteria Detectors Compared
Different detector types respond to smoke differently, which affects sensitivity. Photoelectric detectors use a light beam and respond well to smouldering fires. Ionisation detectors respond faster to fast-flaming fires but are more prone to nuisance alarms from cooking.
Choosing the right type for each room matters more than the brand. A kitchen often suits a photoelectric or multi-criteria unit better than an ionisation one.
A Decision Tree for Sensitivity Versus Other Faults
Not every alarm event is a sensitivity problem, and treating it as one wastes time and money. Start from the symptom and work backwards, using the panel and the device as evidence to separate true sensitivity drift from battery faults, contamination warnings, placement issues, wiring faults and panel trouble signals.
Start with the symptom
- A single chirp at regular intervals (often about once a minute): this is almost always a low-battery or end-of-life signal, not a sensitivity fault. Check the battery and the manufacture date before anything else.
- An alarm that sounds only in one room, usually near cooking or steam: placement and ventilation are the likely cause. Review the detector’s distance from the kitchen, bathroom or laundry before assuming the unit is faulty.
- An alarm that sounds after dust, renovation or cleaning activity: contamination of the sensing chamber is the first suspect. Clean, retest and review whether the detector was protected during the works.
Read the panel before touching a detector
On an interconnected or monitored system, the control panel is the primary diagnostic tool. A panel reporting a specific device address tells you which detector initiated the event; a zone fault without a device address points to wiring, a zone module or a monitoring path rather than a single detector. Common panel indications include:
- Alarm: a device has activated. Note the address and location, then inspect that device and its immediate environment.
- Fault or trouble: the system has detected a problem with a device, a circuit or the connection to monitoring. This is not the same as an alarm and should not be treated as a sensitivity issue until the fault is identified.
- Supervisory or isolate: a device or circuit has been isolated, often during maintenance. Confirm whether the isolation was intentional and whether it has been restored.
Watch out: Do not silence and reset a panel repeatedly to clear a fault. A recurring fault that clears on reset but returns is a real defect, and resetting without investigation can mask a device that will fail when it is needed.
Identify the initiating device
On addressable systems, the panel log shows the device that first went into alarm; compare that address against the site’s device schedule to find the physical location. On conventional systems, the panel shows a zone, so the technician must inspect each detector on it. In both cases, check whether the same device appears repeatedly in the log, repeat events from one address strongly indicate a localised sensitivity or contamination problem, while events spread across a zone suggest an environmental cause or a wiring issue.
Separate contamination warnings from sensitivity drift
Some modern detectors and panels issue a contamination or maintenance warning before the device fails. This differs from sensitivity drift: contamination warnings mean the chamber needs cleaning or the device is nearing end of life, while sensitivity drift describes a change in how the device responds to smoke. Treat a contamination warning as a prompt to clean and retest, and a failed sensitivity test after cleaning as a prompt to replace.
When to escalate to a technician or monitoring provider
Escalate when the panel shows a fault you cannot match to a device, when multiple devices report events at once, when the system is monitored and you cannot confirm the provider has been notified, or when a device fails a sensitivity test after cleaning.
A qualified inspection is needed to confirm the cause, since replacing a detector when the real problem is a battery, a panel fault or a nearby environmental trigger wastes time and money.
When to Replace a Smoke Detector Instead
Some detectors cannot be fixed. Replace a unit when it fails a sensitivity test after cleaning, when it is past the manufacturer’s stated service life, or when the sensing chamber is damaged.
Replacing an old detector with a compatible modern one is often the simplest fix. Make sure the new unit suits the room and works with any existing interconnected system.
Booking a Professional Detector Check With Fyrepower
If you manage a commercial property, body corporate or hospitality venue, a professional check can confirm whether your detectors are working as they should. Fyrepower provides fire safety equipment, installation and testing across the Gold Coast, South Brisbane and Northern New South Wales. You can review the full range of extinguishers and alarm systems on that page before booking.
Get in touch with us now to arrange a detector check.
Frequently Asked Questions
Why does my smoke detector keep going off when there is no fire?
Nuisance alarms usually come from something reaching the sensing chamber rather than an actual fire. Dust, cooking smoke, steam from showers and aerosol sprays are the most common triggers. Check where the alarm sits relative to the kitchen and bathroom, clean the unit gently with a soft brush or vacuum on low suction, and watch whether the alarms go off during cooking or showering. If false alarms continue after cleaning and relocating, the detector may be faulty or past its service life and should be assessed by a qualified technician.
Can dust or insects trigger a smoke alarm?
Yes. Dust settling inside the sensing chamber and insects entering the housing can both disturb the detector and cause it to alarm. Fine dust from renovation work is a particularly common cause. Keeping the unit clean and checking for insect entry points around the housing reduces the risk. A detector that repeatedly alarms after cleaning should be tested, because the sensing element itself may be contaminated or failing.
How do you clean a smoke detector safely?
Switch off power or remove the battery first, then use a vacuum with a soft brush attachment on low suction to remove dust from the vents and cover. Avoid spraying cleaning products or aerosols into the unit, and do not use water or solvents on the sensing parts. Replace the battery and test the alarm afterwards using the test button. Cleaning should be done carefully and does not replace the need for periodic testing or replacement.
Who should test a commercial fire alarm system?
Commercial fire alarm systems should be tested and inspected by a suitably licensed and insured fire protection technician, in line with the Australian standards that apply to the system, including AS 1851 for routine maintenance of fire protection systems. Fyrepower is QBSA-licensed and fully insured, and provides fire safety equipment, installation and professional testing across the Gold Coast, South Brisbane and Northern New South Wales. Contact Fyrepower for current pricing or a quote, as costs depend on the size and type of the system.